You’ve handed back the keys, done your final walkthrough, and waited the agonising week or two for the deposit decision. …

JAM End of Tenancy Cleaning London | Move Out House Cleans
Getting London moving
Getting London moving
You’ve handed back the keys, done your final walkthrough, and waited the agonising week or two for the deposit decision. …

Let’s be honest: that crusty white buildup around your taps isn’t adding to the period charm of your Victorian terrace …
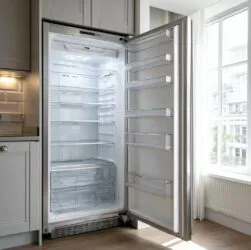
A clean refrigerator is more than just an everyday necessity; it plays a crucial role in maintaining a healthy home. …

Moving out of a rental property can feel overwhelming, especially when trying to ensure you get that deposit back. Professional …

If you’re getting ready to move out of your rented place and stressing about that security deposit, we’ve got you …

Are you ready to tackle the task of cleaning your bathroom but not sure where to start? This article will …
To buy or rent a home? There are two life strategies concerning the philosophy of where and how to live. …